Photos have become one of the most important parts of modern celebrations. Whether it’s a birthday, wedding, engagement, anniversary, baby shower, or corporate event, guests naturally look for beautiful places where they can take pictures and create memories.
This is where a well-designed photo booth setup can make a big difference.
You don’t necessarily need an expensive professional photo booth or complicated equipment. With the right event props, backdrop, lighting, and a little creativity, you can create an attractive photo area that becomes one of the most popular parts of your celebration.
A beautiful photo booth can also make your event feel more thoughtfully designed. It gives guests a dedicated space to interact, take photographs, and share their experience with friends and family.
In this guide, we’ll explain how to create a stunning photo booth using event props and how to make sure your setup looks great both in person and in photographs.
Why Should You Have a Photo Booth at Your Event?
A photo booth is more than just a decorated wall.
It can become an interactive experience for your guests.
A well-designed photo area can:
- Give guests a dedicated photography space
- Create memorable moments
- Make your event more visually attractive
- Encourage guests to interact
- Provide social-media-friendly photographs
- Highlight your event theme
- Fill an otherwise empty area
- Create a strong visual focal point
The best part is that you can customize your photo booth according to your celebration.
A birthday photo booth can be colorful and playful, while a wedding setup can be elegant and sophisticated.
1. Choose the Right Location
Before selecting your props, decide where your photo booth will be placed.
The location is extremely important because even the most beautiful setup won’t work well if guests don’t have enough space to use it.
Look for an area that has:
- Enough standing space
- Good lighting
- A clean background
- Easy guest access
- Enough distance for photographs
- Minimal obstruction from tables or furniture
For a birthday party, you might place the photo booth near the main cake area.
For a wedding, it could be placed in a separate corner of the venue.
For a corporate event, it could be positioned near the entrance or branded activity area.
Make sure guests can easily find it without blocking the main flow of the event.
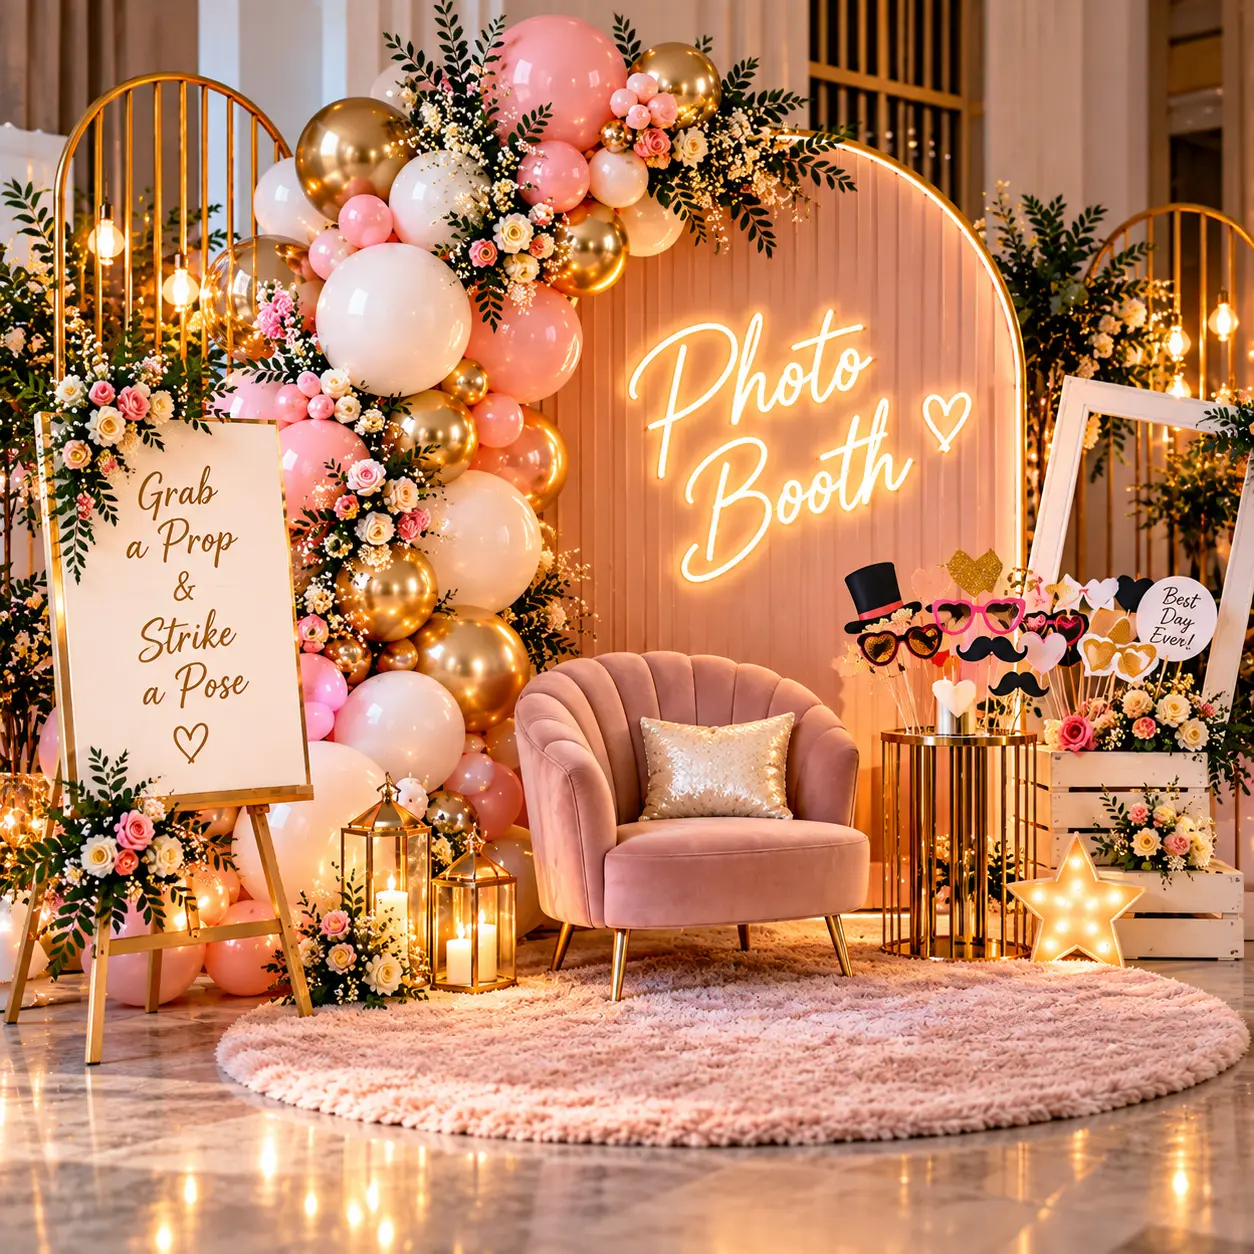
2. Start With an Attractive Backdrop
The backdrop is the foundation of your photo booth decoration.
It determines what will appear behind guests in almost every photograph.
Some popular options include:
- Flower walls
- Balloon backdrops
- Fabric backdrops
- Decorative panels
- Arch structures
- Themed backgrounds
- Custom signage
Choose your backdrop based on your event theme.
For example, a birthday setup could use a colorful balloon arrangement, while a wedding photo booth may look better with flowers, soft colors and elegant decorative elements.
Your backdrop should be large enough to fit the expected number of people in a photograph.
At the same time, avoid making it unnecessarily large if your venue has limited space.
3. Add Balloon Arrangements
Balloons are one of the easiest ways to make a photo booth look more exciting.
Instead of randomly placing balloons, create a structured arrangement around one or both sides of your backdrop.
A balloon garland can:
- Frame the photo area
- Add color
- Create depth
- Make the backdrop more attractive
- Connect different decoration elements
Choose balloon colors that match your overall event palette.
For example:
Elegant: White + Gold + Cream
Birthday: Pink + White + Gold
Kids’ Party: Blue + Yellow + White
Romantic: Red + White + Rose Gold
The goal is to make the balloon arrangement look like part of the overall design rather than a separate decoration.
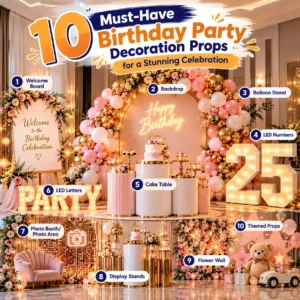
4. Use LED Numbers and Letters
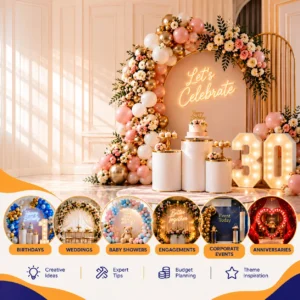
If you’re creating a birthday or milestone celebration photo booth, LED numbers can be an excellent addition.
A large illuminated number can immediately communicate the occasion.
For example:
18 for a milestone birthday
25 for a 25th birthday
30 for a 30th birthday
50 for a 50th birthday
LED letters can also be used for names, initials or words related to the celebration.
Their illumination makes them especially attractive for evening events and photographs.
Place the LED numbers or letters where they can be clearly seen without covering the main backdrop.
5. Create a Clear Theme
A photo booth should feel like part of your event rather than a completely separate decoration.
That’s why your photo booth should follow the same theme and color palette as the rest of the celebration.
If your event uses white, gold and pink, carry those colors into the photo booth.
If you’re organizing a themed birthday, incorporate the theme into the backdrop, balloons, signage and props.
Consistency creates a more professional appearance.
A simple theme with coordinated elements often looks better than a setup containing many unrelated decorations.
6. Add a Personalized Sign
Personalization can make a photo booth much more memorable.
You can add:
- The birthday person’s name
- Couple’s names
- Event date
- Birthday age
- Special message
- Company name
- Event hashtag
For example:
“Let’s Celebrate!”
“Aarav Turns 25”
“Riya & Rahul”
“Best Day Ever”
A personalized sign can become one of the most recognizable elements of your photo booth.
It also gives your photographs a clear connection to the event.
7. Add Fun Photo Booth Props
Once your main setup is ready, you can add smaller photo booth props that guests can hold or interact with.
Depending on your event, these could include:
- Funny signs
- Speech bubbles
- Handheld frames
- Decorative glasses
- Hats
- Themed signs
- Celebration messages
For a birthday, you could use fun messages related to the birthday person.
For a wedding, props can include messages related to the couple.
For corporate events, branded or company-themed props can create a more professional experience.
Don’t add too many props. A small, organized collection is easier for guests to use.
8. Get the Lighting Right
Lighting can make or break a photo booth.
Even a beautifully decorated setup can look disappointing in photographs if the area is too dark.
If possible, place your photo booth in an area with good natural or artificial lighting.
For evening events, consider suitable lighting around the photo area.
The lighting should illuminate people’s faces without creating harsh shadows.
You should also check how the lighting appears through a smartphone camera before guests start using the photo booth.
A quick test photograph can help you identify problems with shadows, brightness or positioning.
9. Create Enough Space for Guests
One of the most overlooked parts of a photo booth setup is the space in front of it.
Your guests need enough room to stand comfortably.
If you expect groups to take photographs together, make sure the photo area can accommodate several people.
Keep unnecessary furniture and decorations away from the camera’s viewpoint.
A good rule is to create a clear zone:
Backdrop → Photo Space → Camera
This simple arrangement makes it easier for guests to take photographs without constantly moving decorations or furniture.
10. Make It Instagram-Friendly
Today’s guests often think about how their photographs will look before they take them.
Design your photo booth with social media in mind.
Use:
- Strong visual colors
- Clean backgrounds
- Good lighting
- Personalized elements
- Statement props
- Attractive balloons
- LED numbers or letters
Avoid placing too much text or too many decorations behind guests.
Your main decorative elements should be easy to recognize even when several people are standing in front of the setup.
You can also create an event hashtag and display it on a small sign.
How to Combine Event Props for a Photo Booth
You don’t need to use every available decoration.
Instead, create a simple combination of complementary elements.
Basic Photo Booth
Backdrop + Balloon Arrangement + Lighting
Birthday Photo Booth
Backdrop + Balloons + LED Number + Cake Table
Wedding Photo Booth
Flower Wall + Floral Props + Personalized Sign + Lighting
Premium Photo Booth
Backdrop + Balloon Arrangement + LED Letters + Floral Elements + Personalized Sign + Professional Lighting
The right combination depends on your event type, venue and budget.
How to Choose Props According to Your Budget
Creating a beautiful photo booth doesn’t necessarily require a large budget.
Start with the most visually important element: the backdrop.
Then add elements gradually.
A simple budget-friendly setup could include:
1. Backdrop
2. Balloon arrangement
3. Personalized sign
4. LED number or letter
You can add additional elements if your budget allows.
Instead of purchasing many inexpensive decorations that don’t work together, invest in a few high-impact pieces.
Common Photo Booth Mistakes to Avoid
Using Too Many Props
Too many decorations can make photographs look cluttered.
Poor Lighting
Dark faces and harsh shadows can ruin otherwise beautiful photographs.
Choosing the Wrong Size
A backdrop that’s too small may not accommodate groups.
Ignoring the Theme
Props that don’t match the event can make the setup look unorganized.
Blocking the Photo Area
Large tables or furniture placed directly in front of the backdrop can make it difficult for guests to take photographs.
Forgetting the Camera Position
Always test the setup from the position where photographs will actually be taken.
Photo Booth Setup Checklist
Before your event, check:
☐ Choose the photo booth location
☐ Select your backdrop
☐ Choose your color palette
☐ Add balloon arrangements
☐ Add LED numbers or letters
☐ Prepare personalized signage
☐ Arrange handheld photo props
☐ Check lighting
☐ Leave enough standing space
☐ Test photographs before the event
☐ Remove unnecessary objects from the camera view
☐ Make sure the setup matches the overall event theme
Final Thoughts
A great photo booth doesn’t have to be complicated.
The secret is choosing the right event props and arranging them thoughtfully.
Start with a suitable backdrop, add coordinated balloons, introduce statement elements such as LED numbers or letters, personalize the space with signage and finish the setup with good lighting.
Most importantly, think about the experience from your guests’ perspective. Can they easily find the photo booth? Is there enough space? Can groups take photographs comfortably? Does the setup look good through a smartphone camera?
When these details are considered, even a simple setup can become a memorable part of your celebration.
At PropHouse, we believe event props should do more than decorate a space. They should help create moments that people want to photograph, share and remember.
Planning your next celebration? Explore PropHouse and discover the event props you need to create a photo booth that stands out.